 LUMAVIR
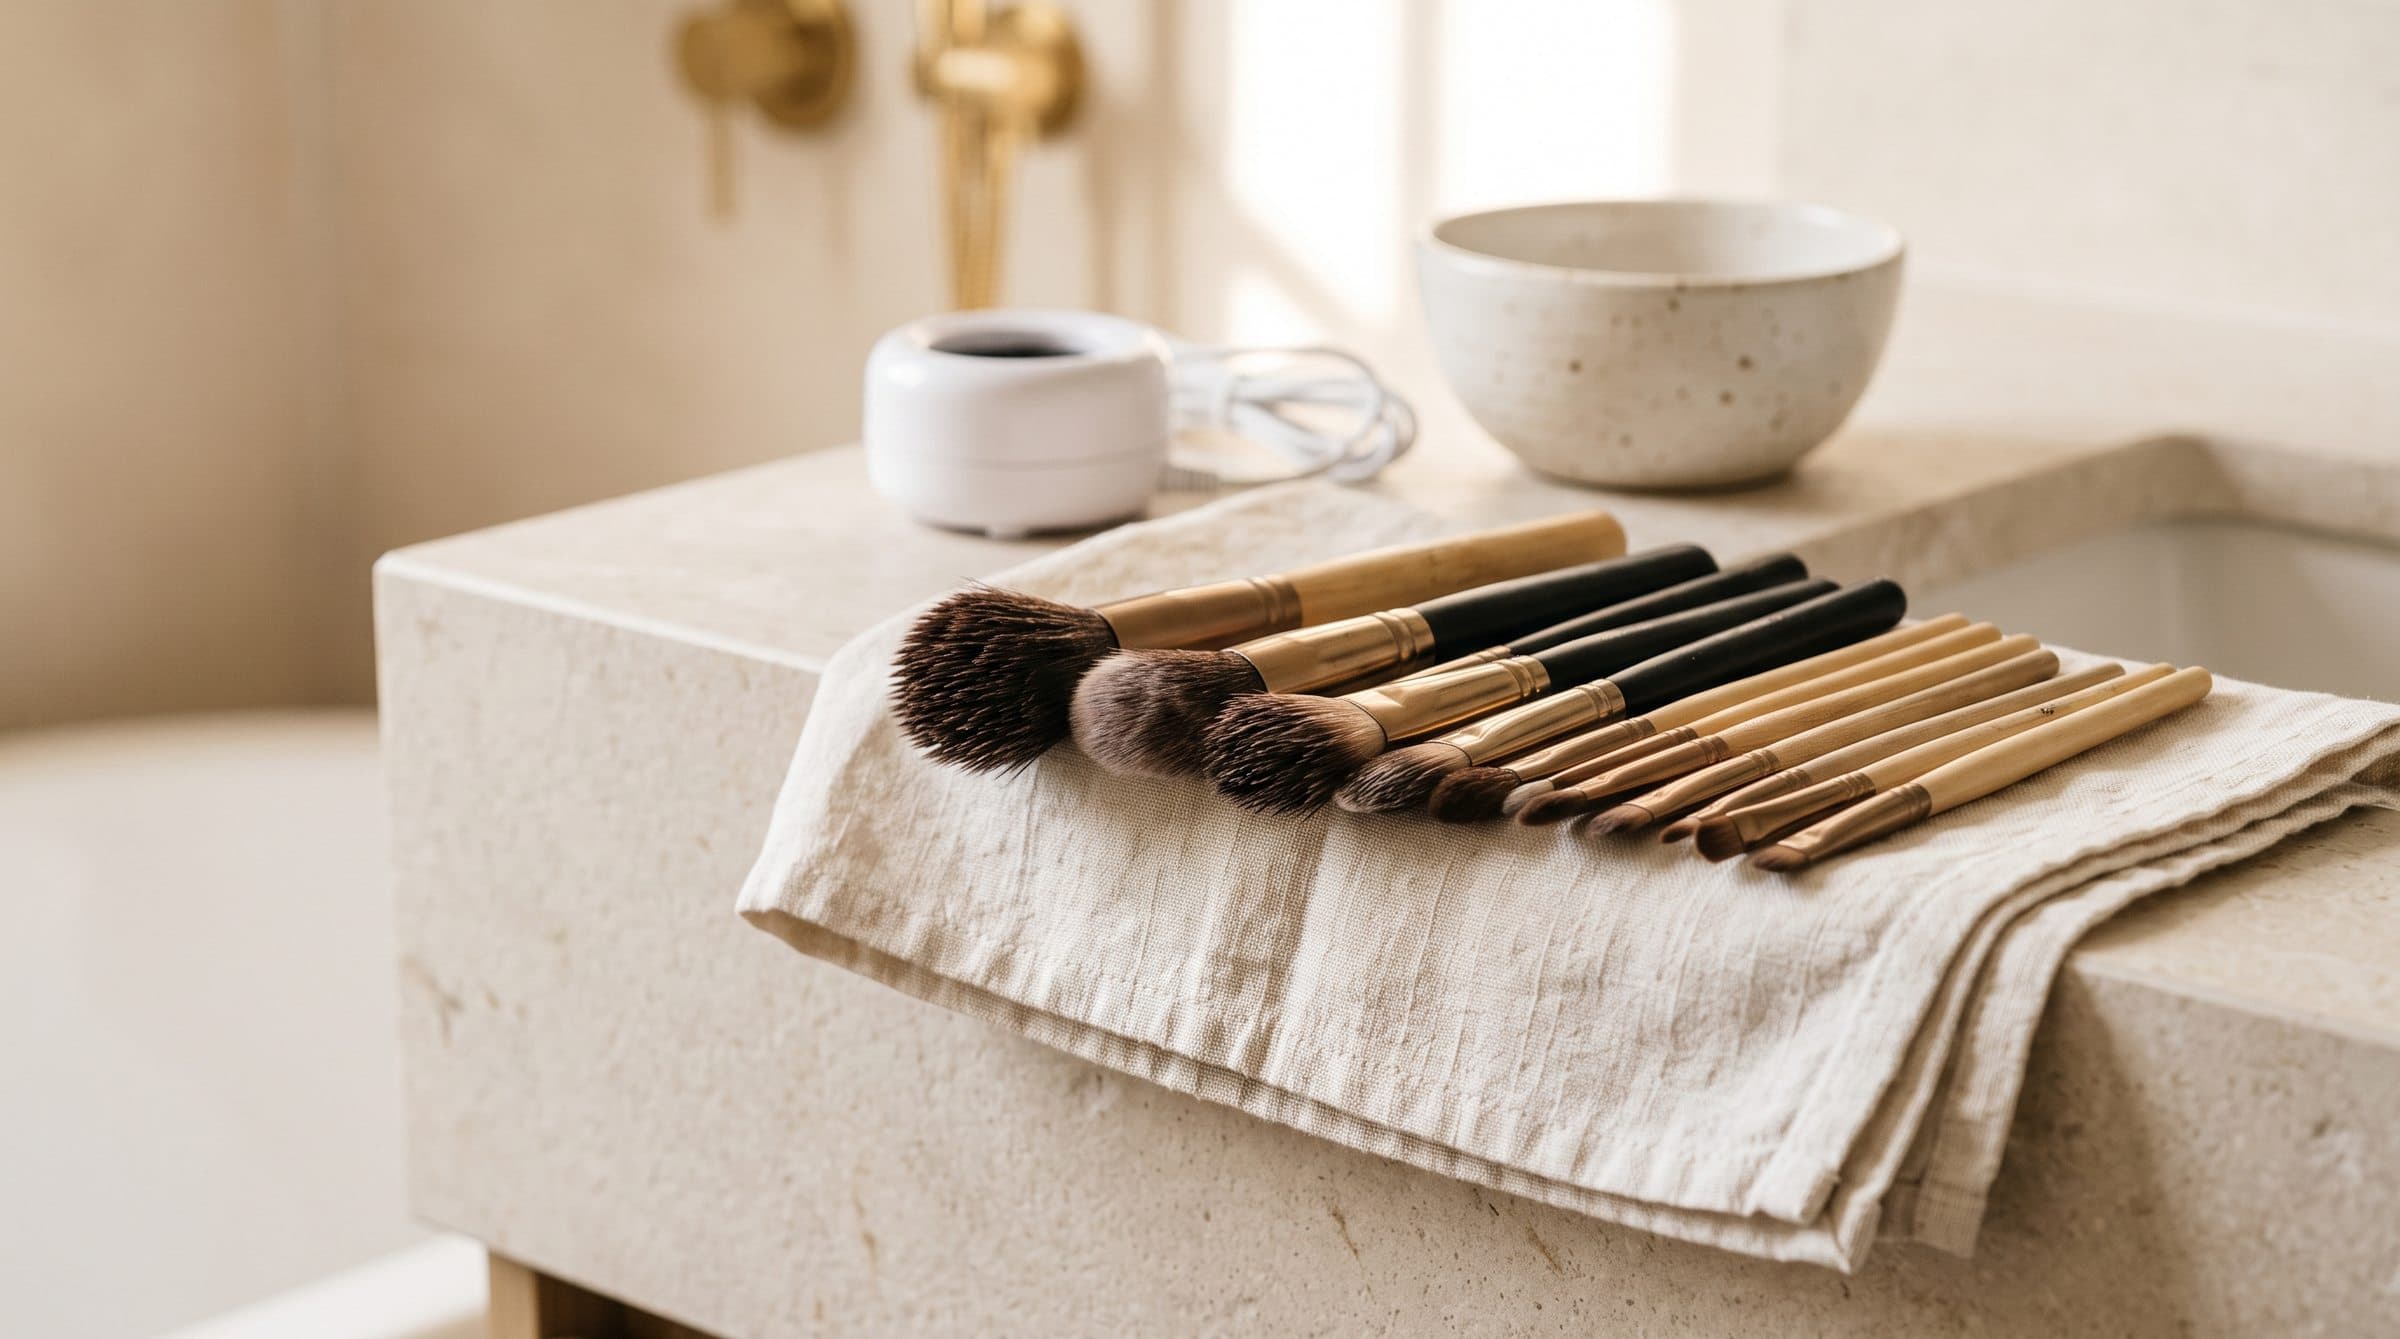
Makeup brushes collect pigment, oil and dust as you use and store them. Cleaning removes old product before it is transferred back onto your face, and helps bristles keep their shape and apply makeup evenly. Wash them by hand at the sink with lukewarm water and gentle cleanser, then rinse carefully. An electric makeup brush cleaner is another way to wash a group of brushes.
How often should you clean makeup brushes?
Wash makeup brushes every 7 to 10 days as a practical baseline. The American Academy of Dermatology Association (AAD) recommends this interval because brushes collect product residue, dirt and oil; it also advises not sharing brushes. Its advice is a sensible routine for personal brushes, with more frequent cleaning when a brush is used heavily or becomes visibly soiled.
Give brushes used for foundation, concealer, cream blush or other wet products priority in your weekly wash. Product can cling between the bristles, so residue and dampness build up sooner than on a brush used only for loose powder. Wash the brushes you use most at the end of the week, then wash less-used ones as needed. If a brush has touched broken or irritated skin, clean it before using it again, and do not share it.
Reusable makeup sponges are different: clean them after every use, rather than waiting for the weekly brush wash. The AAD advises massaging a sponge in warm soapy water, rinsing until clear, squeezing out excess water and air-drying it on a clean paper towel. If a skin or eye problem persists, contact a health professional; washing an applicator is hygiene, not treatment.
How to clean makeup brushes by hand
Hand washing is enough to clean makeup brushes well. You need lukewarm water, a small amount of gentle shampoo or brush cleanser, a clean towel and a flat place for drying. A textured silicone mat can help loosen product, but your clean palm works too.
- Wet just the bristles. Hold the brush with the head pointing down and run lukewarm water over the tips. Avoid soaking the full brush head or handle joint. Water can work into the ferrule, the metal collar between bristles and handle, and weaken the adhesive over time.
- Add a little cleanser. Put a small drop of mild shampoo or a purpose-made brush cleanser in your palm or on a cleaning mat. Start with less than you think you need; extra soap takes longer to rinse away.
- Work through the makeup. Gently swirl the bristles in small circles, then use your fingertips to massage cleanser from the outer hairs towards the centre. Do not mash the brush against the sink or scrub hard, since force can splay the shape and loosen hairs.
- Rinse and check. Keep the head pointing down while rinsing. Continue until the water runs clear and you can no longer feel suds. If pigment remains in a dense foundation brush, repeat with a small amount of cleanser instead of using a harsher product.
- Press, reshape and dry. Gently squeeze excess water out with a clean towel, smooth the bristles back into their original shape, then lay the brush flat to air-dry.
A mild cleanser is usually all you need. Baby shampoo or a gentle facial cleanser can lift everyday makeup without the need for a specialist formula. Avoid very hot water and aggressive household cleaners, and rinse patiently: leftover cleanser can leave bristles stiff or make the next application patchy. For a source-backed wash sequence, see the AAD brush-cleaning guide.
How to clean makeup brushes with an electric brush cleaner
An electric cleaner can reduce the repetitive work of washing a set, but it does not make a careful hand wash obsolete. The Lumavir electric makeup brush cleaner uses a bowl-style wash: add warm water and gentle cleanser, place brushes in the bowl while keeping the ferrules above the waterline where possible, then run a short cleaning cycle. Heavy foundation brushes may need another cycle.
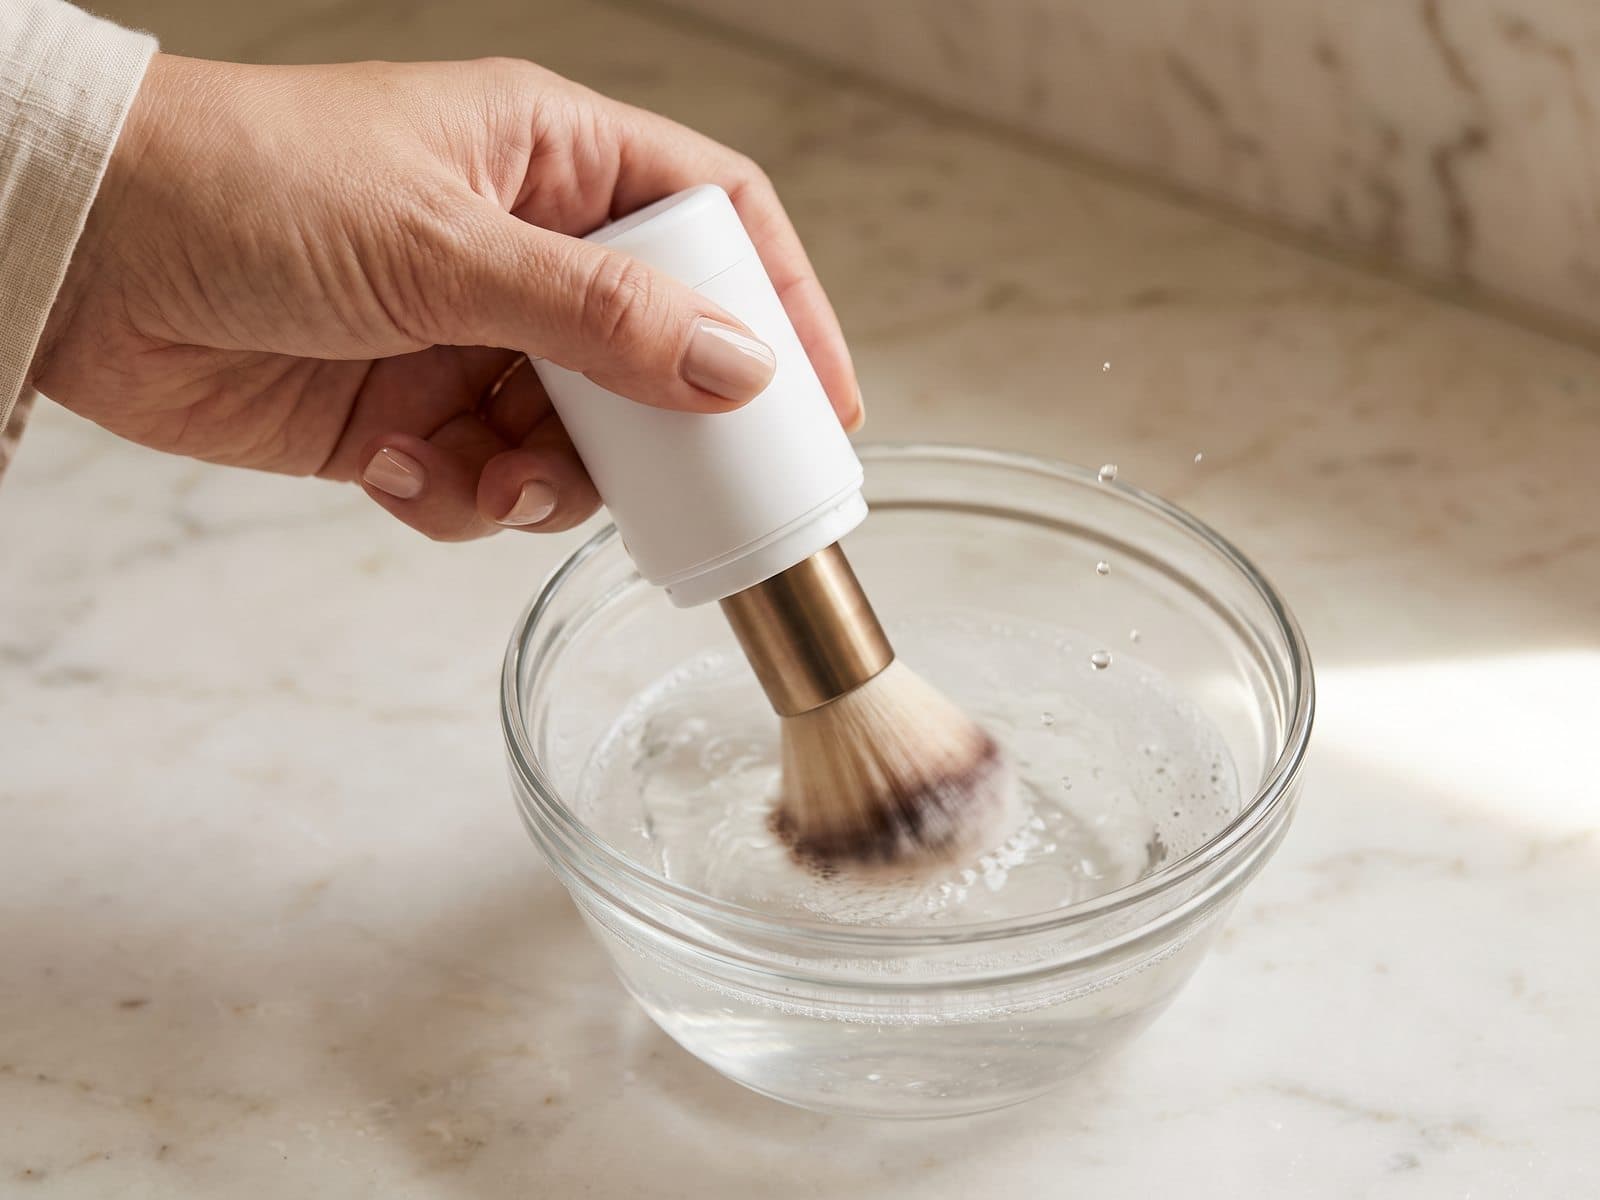
- Prepare the bowl. Fill it with warm water to the marked level and add a small amount of gentle cleanser or baby shampoo. Follow the device's own instructions and do not overfill it.
- Load the brushes carefully. Put the brushes in so the bristles are immersed while keeping the metal ferrules above the water where you can. Avoid leaving the handles or joints soaking.
- Run a short cycle. Start the cleaner and let the wash cycle run. Check a brush afterwards. If a dense brush still holds visible foundation, run it again rather than assuming one cycle removes all residue.
- Rinse with clean water. Move each brush to a clean bowl or hold its bristles under a gentle stream, keeping the head pointed down. Rinse until no colour or cleanser remains.
- Reshape and air-dry. Press out excess water, reshape the bristles and lay the brushes flat. Empty and rinse the cleaner bowl, then leave it to dry before storing.
Hand washing costs only cleanser. A machine may suit you if washing a full set feels tedious enough that you put it off. It is still a wash, not a sterilising process, and this bowl-style cleaner does not dry brushes. If the slower setup is what stops you cleaning regularly, see the electric makeup brush cleaner and compare its routine with your usual hand wash before deciding.
Choose the method for the bristles and makeup
Synthetic and natural-hair brushes can both be cleaned with gentle cleanser and water, but natural hair may feel drier after washing and benefits from gentler handling. Do not scrub either type harshly, and follow the brush maker's care instructions, especially if the fibres are delicate or the handle is unusual.
For a natural-hair brush that feels dry after washing, a small amount of conditioner worked through the bristles and rinsed out can help keep the hairs soft. Keep conditioner away from the ferrule and handle. Synthetic brushes do not usually need this extra step. Healthline describes using a gentle cleanser or baby shampoo for washing and conditioner for real-hair brushes in its makeup brush cleaning instructions.
Cream and liquid products tend to leave more residue in complexion brushes than dry powders, so wash those brushes more often. Eye brushes deserve consistent attention because they are used close to the eyes. With powder brushes, sweep away loose pigment between colours using a clean tissue or cloth, then do the same full wash as the rest on a regular schedule. Do not use a quick wipe as a substitute for washing.
How to dry makeup brushes without damaging them
Lay wet brushes flat on a clean towel, with the bristles extending just beyond the edge so air can reach the tips. You can tilt the handle slightly higher than the brush head by placing it on a folded towel, but keep the bristles lower than the handle. Let brushes dry fully before putting them in a holder, drawer or makeup bag; a dense brush may need longer than overnight in a cool or humid room.
Do not stand wet brushes upright in a cup with the bristles at the top. Water runs down towards the ferrule and can loosen the glue that holds the head to the handle. Avoid a radiator or hairdryer too: direct heat can distort the bristle shape and dry the fibres unevenly. Lay brushes on a clean towel and let air circulate around them. The AAD also recommends drying brushes flat, with the tips hanging over a counter edge.
Spot-clean between full washes
A quick wipe can remove loose pigment between colours or uses, but it is not a replacement for a proper wash. Use a clean tissue or cloth and gently sweep the bristles across it until excess powder lifts away. If you use a quick-drying brush-cleaning liquid, follow its label, apply it to the bristles as directed and let the brush dry fully before using it again.
Do not assume a spray or an electric cleaner sterilises a brush. Cleaning removes visible makeup and residue, but ordinary home washing is not a validated sterilisation process. Keep personal brushes for your own use, and do not share them, especially around the eyes. If a brush has touched an eye with an active infection, stop using it and ask a healthcare professional how to handle the applicator.
When to replace a makeup brush or sponge
Replace a brush when it keeps shedding, its bristles are frayed or misshapen, the ferrule is loose, or it no longer applies product evenly after a thorough wash. There is no need to throw away a brush simply because it is old if it remains intact and performs well. A damaged brush can be uncomfortable on skin and harder to clean fully, so judge it by condition rather than a fixed number of months.
Replace a reusable sponge when it tears, crumbles, develops a persistent smell or no longer rinses clean. Clean it after each use and let it dry in open air. For more at-home beauty-tool ideas, browse our beauty-tech gift guide or the skincare tools collection.
How we wrote this guide
The Lumavir team wrote this guide from the brush-care guidance linked above and from the instructions supplied with our electric brush cleaner, and checked it on 18 October 2026. We sell the cleaner mentioned here. Hand washing works well too, and nothing on this page depends on buying one. If you spot an error or a source that has changed, email info@lumavir.com and we will correct it.
Frequently asked questions
- How often should you clean makeup brushes?
- Wash makeup brushes every 7 to 10 days as a useful baseline. Give brushes used with foundation, concealer or other wet products priority, and wash them sooner if they become visibly soiled. Clean reusable makeup sponges after every use. If your skin or eyes remain irritated, pause use and contact a health professional; washing an applicator is hygiene, not treatment.
- What is the best way to clean makeup brushes?
- Use lukewarm water and a little gentle shampoo or brush cleanser, keeping the brush head pointed down. Work cleanser through the hairs with your fingers, then rinse until the water runs clear and no suds remain. Avoid soaking the full head or handle joint, as water can reach the ferrule and weaken the adhesive over time. See the hand-washing steps above for the full sequence.
- How do you use an electric makeup brush cleaner?
- Follow the cleaner's own instructions because machine designs differ. With the Lumavir bowl-style cleaner, fill to the marked level, add gentle cleanser and keep the ferrules above the water where possible. A dense brush may need another short cycle if makeup remains visible. Rinse each brush separately afterwards, then reshape and air-dry it flat; the cleaner does not dry brushes.
- Can you use washing-up liquid to clean makeup brushes?
- It is better not to. Washing-up liquid is made to strip grease and can leave natural bristles dry, so use a mild shampoo or a dedicated brush cleanser instead. Use only a little and rinse until no cleanser remains, since residue can leave bristles stiff or affect the next makeup application. Natural hair may feel dry after washing, so handle it gently and follow the brush maker's care instructions, especially for delicate fibres.
- How should you dry makeup brushes after washing?
- Press water from the bristles with a clean towel, reshape the head and lay the brush flat with its tips just beyond an edge. Keep the bristles lower than the handle so water drains away from the ferrule. Let it dry fully before putting it in a holder, drawer or makeup bag. Avoid radiators and hairdryers, which can distort or dry the fibres unevenly.
- How do you clean a makeup sponge or Beautyblender?
- Wash a reusable makeup sponge after every use with warm soapy water. Massage the suds through the sponge, rinse until the water runs clear, squeeze out excess water and leave it on a clean paper towel to air-dry. Let it dry in open air before storing it, rather than putting it damp in a closed makeup bag or container.
- When should you replace makeup brushes?
- Replace a brush if it keeps shedding, has frayed or misshapen bristles, a loose ferrule, or no longer applies makeup evenly after a thorough wash. There is no fixed replacement date in this guide because brushes vary in condition and use. A damaged brush can feel uncomfortable on skin and is harder to clean fully, so check its condition as well as how it performs.
Make brush washing easier to keep up with
A gentle hand wash is enough for clean brushes. If washing a full set by hand is the part you avoid, explore the Lumavir electric makeup brush cleaner and see whether its bowl-style routine suits your brushes. Either way, rinse thoroughly and leave every brush flat to air-dry.
UK delivery is free, with estimated delivery of 6 to 8 business days. Returns are available within 14 days; change-of-mind return postage is paid by the customer.