 LUMAVIR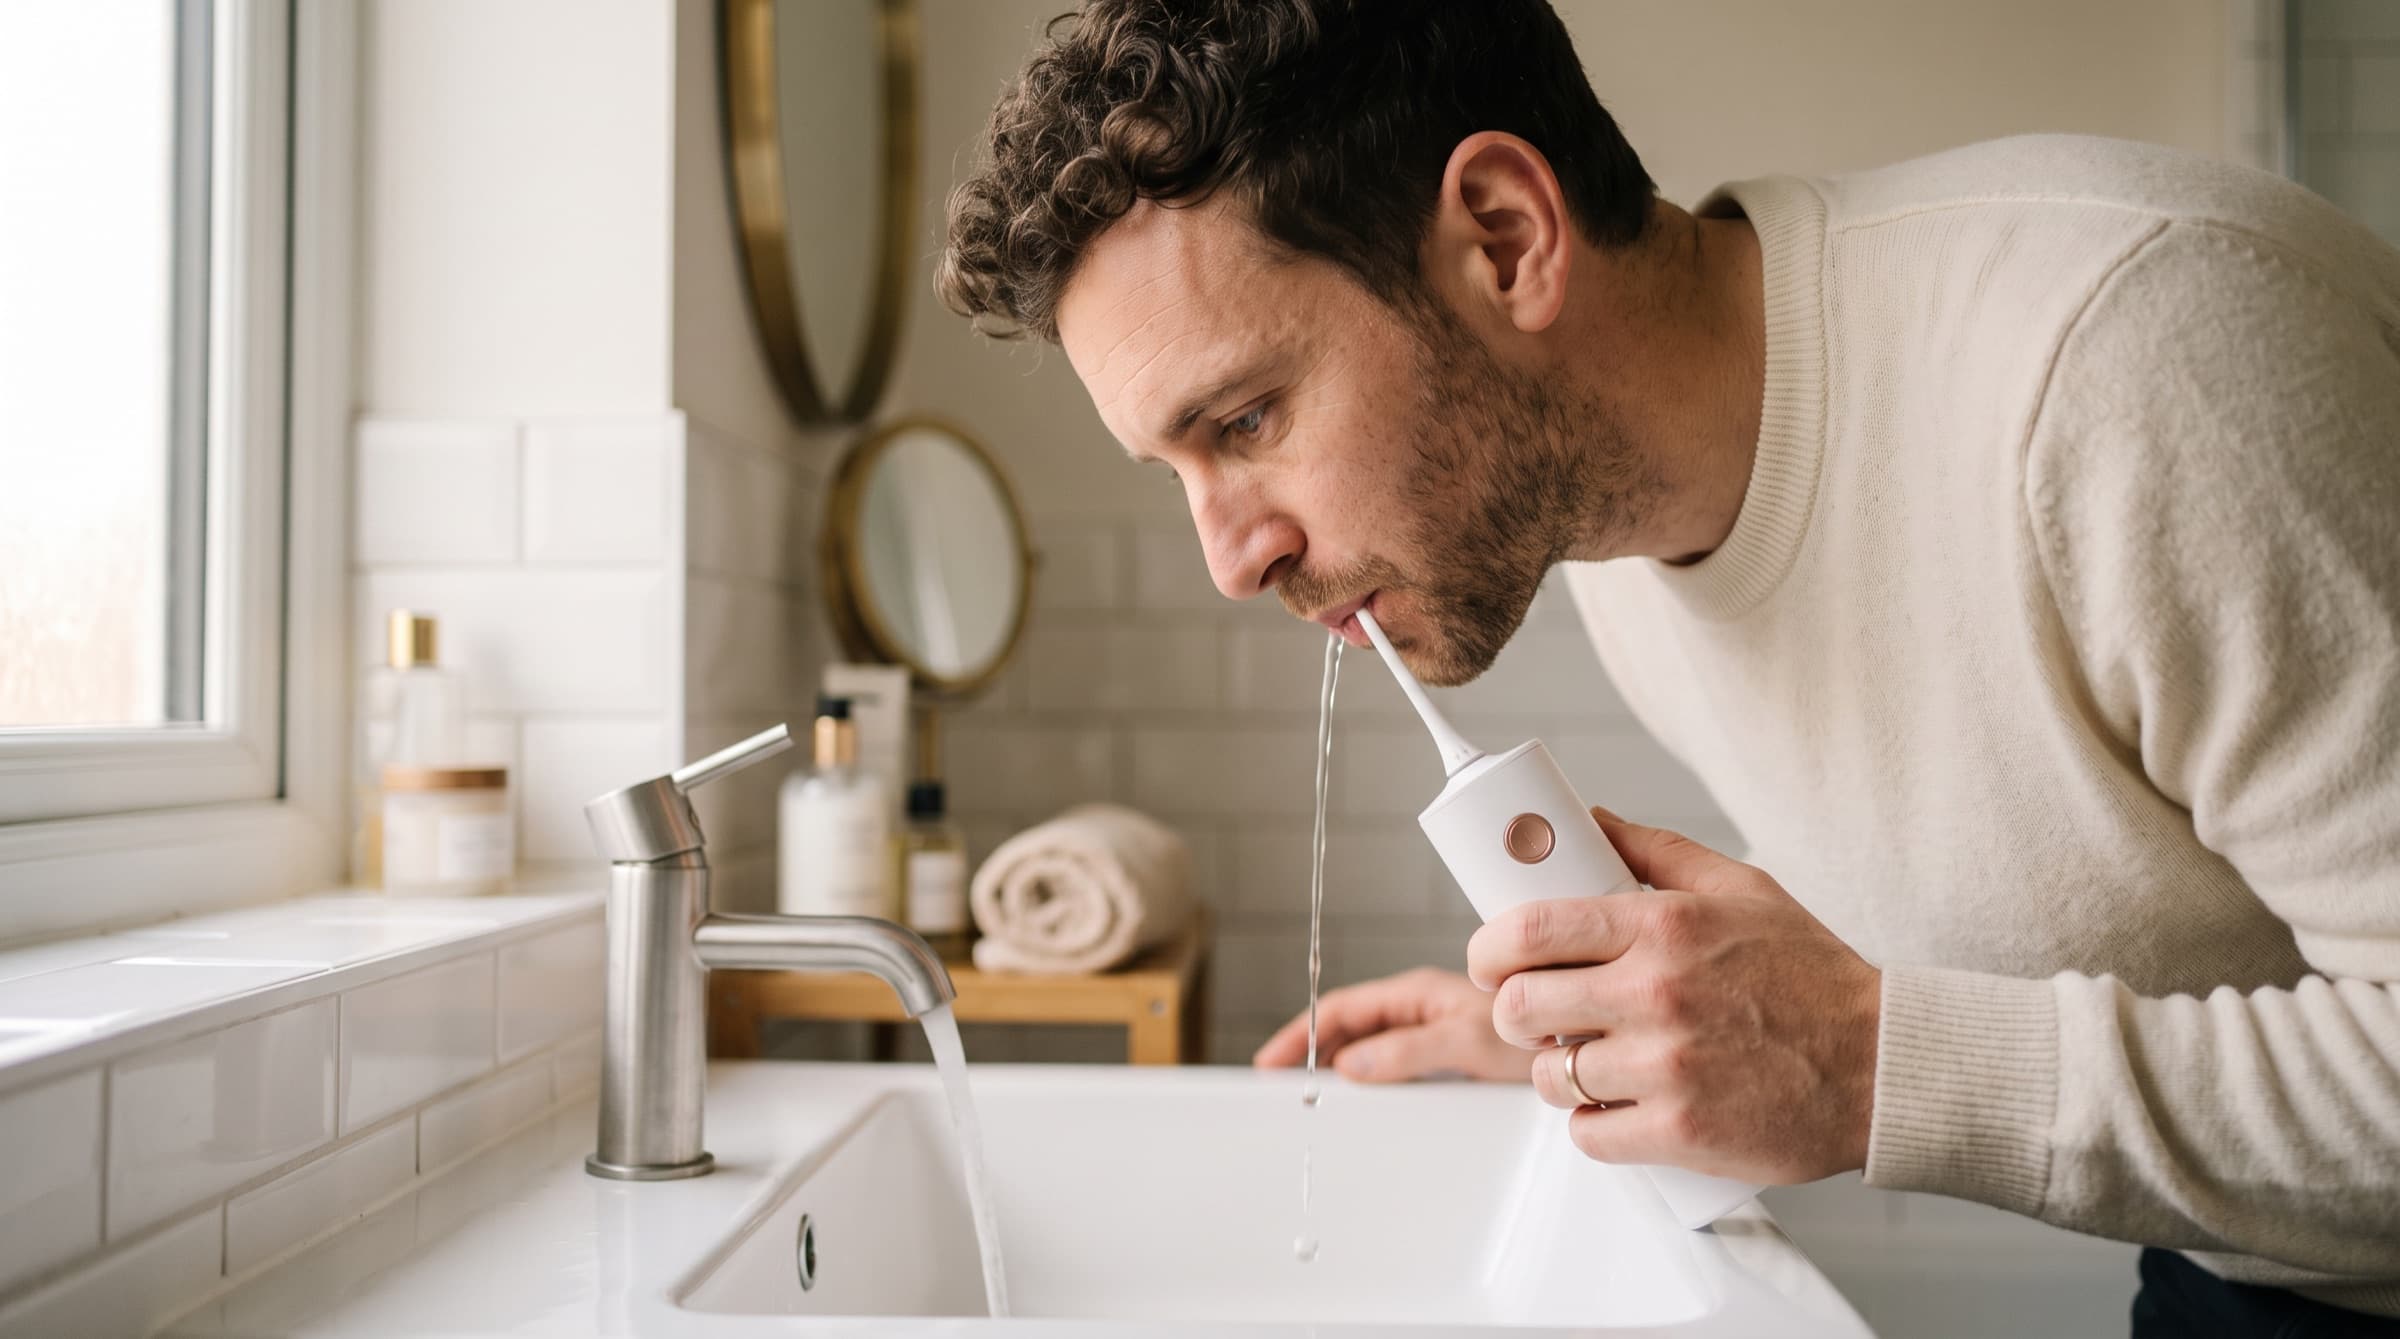
If you've just unboxed your first water flosser, the learning curve is gentler than you might think. The key difference from string flossing is that you're using a pressurised stream of water instead of a strand, which means technique matters. This guide covers the setup, proper form, common mistakes, and the specific questions most people skip over, like what happens in week one if your gums bleed or whether mouthwash belongs in the tank.
Before your first use: setup in 60 seconds
Before you switch on your new water flosser, charge it fully if it's cordless, or position the base near your bathroom sink if it's plug-in. Both types need the same three-step prep.
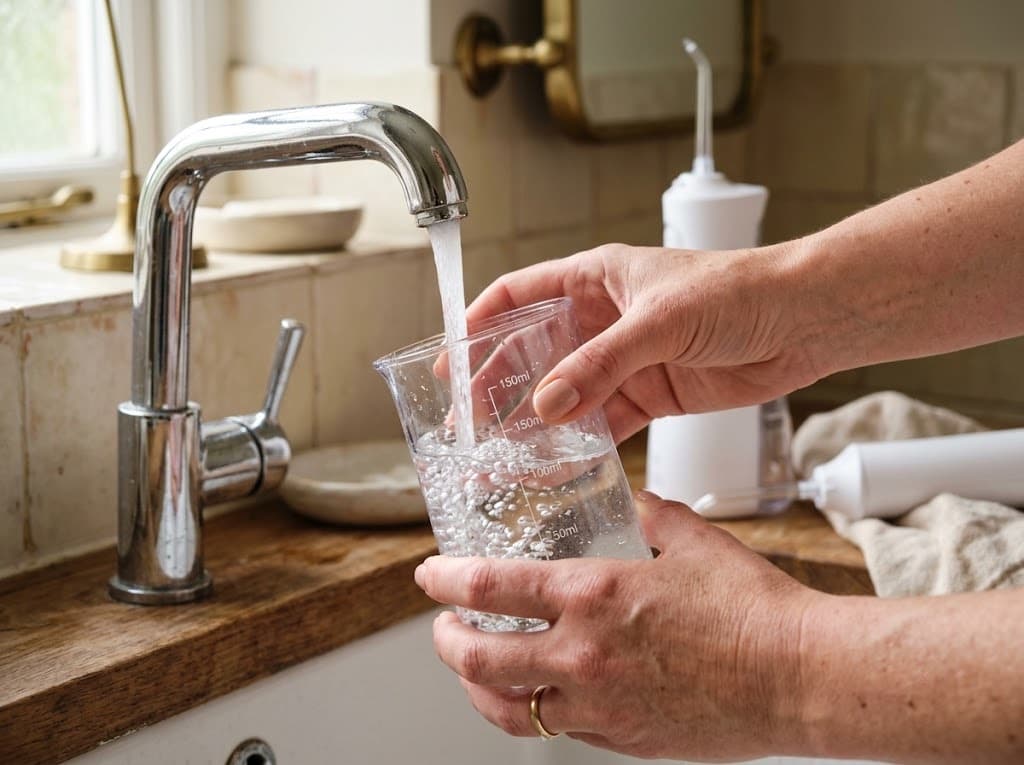
Start by filling the tank with lukewarm water from the tap. Cold water feels uncomfortable on your gums during that first session, sending a sharp sting you don't need. Room-temperature water, or slightly warm, feels far more pleasant. If your home has very hard water, tap water is still fine for now; we'll cover descaling later.
Select the lowest pressure setting. This is crucial on your first day. Your gums haven't adapted to the water jet yet, and starting on high pressure can trigger unnecessary soreness or bleeding. Most devices have a dial or button to adjust this; find it and turn it down. You'll graduate to higher pressures in a few days if you want more cleaning power.
Choose the right tip. Most water flossers come with a standard flossing tip that looks like a small curved nozzle. Some devices also include orthodontic or periodontal tips. For your first session, stick with the standard tip. It's designed to fit comfortably between teeth and won't aggravate healthy gums.
How to use a water flosser, step by step
Using a water flosser involves seven simple steps.
- Lean over the sink. Stand or sit directly over your bathroom sink. Water will drip into the basin instead of down your chin or onto your clothes.
- Fill your mouth partially. Some devices come with a reservoir that fills the mouth, but most need a moment for you to position yourself. Close your lips loosely around the tip so water doesn't spray everywhere, but don't seal them completely. Think of it as a half-closed position, like you're about to say the letter "O". This gives the water a path into your mouth and a path back out into the sink.
- Switch on the device. Only turn on the water pressure once the tip is already in your mouth. This prevents splashing and gives you control over where that first jet goes. If you turn it on outside your mouth, you'll get a surprise spray across the sink.
- Aim at 90 degrees to your gumline. Angle the tip so the water jet points straight into the space where your tooth meets your gum, not at your tooth surface itself. This is where plaque and food debris accumulate. The 90-degree angle targets that zone most effectively.
- Work tooth by tooth. Start at your back teeth and work forward, pausing briefly between each tooth. Spend about five to ten seconds on each gap, letting the water rinse the space between your teeth and under your gum. You're aiming to reach deeper than string floss can, into the tooth-gum pocket.
- Do the inside, outside and between. Clean the outer surfaces of your teeth and gums, the inner surfaces (the side facing your tongue), and crucially, the gaps between teeth. Some people find it easier to do all outside surfaces first, then all inside surfaces, moving from back to front.
- Empty and rinse. Turn off the device, empty any remaining water from the tank, and rinse the tip under running water. Don't leave stagnant water sitting in the tank overnight.
The whole process takes about 60 seconds for most people. Yes, you'll drip a bit at first. That's normal. By day three or four, you'll have the lip position perfected and splash almost nothing.
Cordless water flosser technique
Cordless models come with a smaller tank, typically 140-200ml, which means you'll refill mid-session if you have a full mouth of teeth. This changes your angle control slightly.
Hold a cordless flosser at a natural wrist angle, letting gravity do the work. Because the tank sits on top of the handheld body, you have less stability than a plug-in model on a countertop. Use your other hand to steady your head or rest your elbow on the sink edge if you're new to the device. This prevents sudden jerking that could catch your gum tissue.
Pause and refill halfway through, usually after your top teeth. Switch off, walk to the sink, pour in more lukewarm water, and continue with your lower teeth. The rhythm is less fluid than with a plug-in model, but cordless flossers give you complete freedom to move around your bathroom or travel. The Lumavir cordless water flosser is this type: a small tank you refill once mid-clean, in exchange for being able to use it anywhere.
Cordless flossers trade tank capacity for portability and travel convenience. Browse our full oral care range for water flossers, teeth whitening kits and the rest of the at-home dental tools.
Water flosser vs string floss: do you still need to floss?
Water flossers are excellent at removing debris and reducing visible plaque. Many users with interdental spacing or dexterity challenges report that water flossers are easier to use than string floss and help reduce bleeding gums. However, they are not a direct replacement for traditional string floss or interdental brushes.
Water flossers excel at rinsing and flushing debris from between teeth and under the gumline. String floss, by contrast, physically scrapes plaque from tooth surfaces through direct contact. Plaque is a sticky bacterial film that adheres to your tooth, and rinsing alone doesn't always remove it completely. The NHS recommends that you clean between your teeth every day using floss or interdental brushes, acknowledging that multiple methods work provided you maintain daily consistency.
If you choose to use only a water flosser and skip string floss entirely, you may miss some plaque on the contact surfaces where your teeth touch each other. For people with wide spacing between teeth, gum disease, implants or orthodontic work, water flossers are often more effective than string floss. For people with tight contact points and healthy gums, pairing a water flosser with occasional string flossing gives you debris removal plus plaque disruption.
Water flossers are a powerful adjunct to your daily routine. Brush twice daily with fluoride toothpaste, clean between your teeth once daily (water flosser, string floss, or interdental brushes), and see your dentist regularly. A water flosser checks the "clean between teeth" box effectively for most people, but it doesn't eliminate the need for professional dental advice on your specific situation.
Before or after brushing?
Either order works, but the evidence leans toward flossing before you brush. Many dentists recommend cleaning between teeth first, then brushing, because brushing deposits fluoride from your toothpaste onto your teeth and leaves a protective layer. If you brush first and then floss, you're rinsing away some of that fluoride benefit. If you floss first and brush after, the fluoride stays on your teeth longer overnight.
That said, consistency matters far more than order. If you're more likely to floss immediately after eating because your water flosser is already out, do that. If you prefer the evening routine of brush-then-floss because it feels more refreshing, that's fine too. The key is doing it every day, not worrying about the exact sequence. A person who flosses after brushing every evening is in much better shape than someone who flosses before brushing twice a week.
How often (and how long) should you use it?
Use your water flosser once daily, ideally at the same time each day (evening is most common, or after lunch if morning brushing is your preference). Each session should take about 60 seconds, maybe 90 seconds if you're being especially thorough.
Daily use is important because plaque begins to accumulate again within hours of removal. Skipping days gives bacteria time to regroup, and you lose the gum health benefits. If you forget a day, don't double up the next day or use the device twice. Just resume your normal once-daily routine.
There's no benefit to using your water flosser more than once daily. Overuse can irritate healthy gums or create sensitivity over time. Once per day is the sweet spot for plaque control and gum health.
Sensitive gums or bleeding at first?
Mild bleeding in your first week is normal and usually resolves quickly. When you first start flossing (whether water flossing or string flossing), your gums have likely accumulated some inflammation from months of not being cleaned between the teeth. Using a water flosser disturbs that inflammation, and healthy tissue will sometimes bleed as blood flow increases. This is a sign your gums are responding to treatment, not a sign you're doing anything wrong.
On day one or two, if you notice pink tint in the water or light bleeding into the sink, use the lowest pressure setting and keep going. By day four or five, that bleeding usually stops completely as your gums strengthen and inflammation reduces. This adaptation is one of the reasons consistent flossing works so well: your gums become healthier with daily cleaning.
If bleeding persists beyond two weeks, or if a specific area bleeds heavily every time you use the device, contact your dentist. Persistent bleeding can signal gum disease, a loose filling, or an orthodontic issue that needs professional assessment. A water flosser is a tool for maintaining health, not a treatment for existing disease.
Don't stop using the device just because you see a bit of blood. Stopping immediately after you start is one of the reasons so many people abandon flossing routines. Push through the first week at the lowest pressure setting, and you'll almost certainly see improvement.
What to put in the tank (and what to avoid)
Lukewarm tap water is all you need.
If you want to use mouthwash in your water flosser, dilute it significantly (one part mouthwash to four parts water) and only do this occasionally, not daily. Most commercial mouthwashes are designed to coat your mouth and throat, and their viscous agents can gum up the small internal pumps of your device. Residue builds up, reduces water pressure over time, and eventually clogs the nozzle. If your device manual specifically approves undiluted mouthwash, then follow that guidance. Otherwise, reserve mouthwash for rinsing after your water flossing session, not during.
Never use salt water in a water flosser. Salt is corrosive to the internal metal parts and will cause long-term damage to the pump and tank. Some people assume salt water is beneficial because it's mentioned in dental advice, but that advice refers to salt water rinses after brushing, not as a flosser additive.
Avoid essential oils, hydrogen peroxide, or any other solution you've read about online. Stick to plain lukewarm water. It's effective, it's safe for your device, and it's what your dentist would recommend.
Cleaning your water flosser (UK hard-water edition)
Weekly maintenance: empty the tank completely after each use and rinse it under running water. Dry the tip with a clean cloth if possible. This prevents bacterial growth and keeps the nozzle clear.
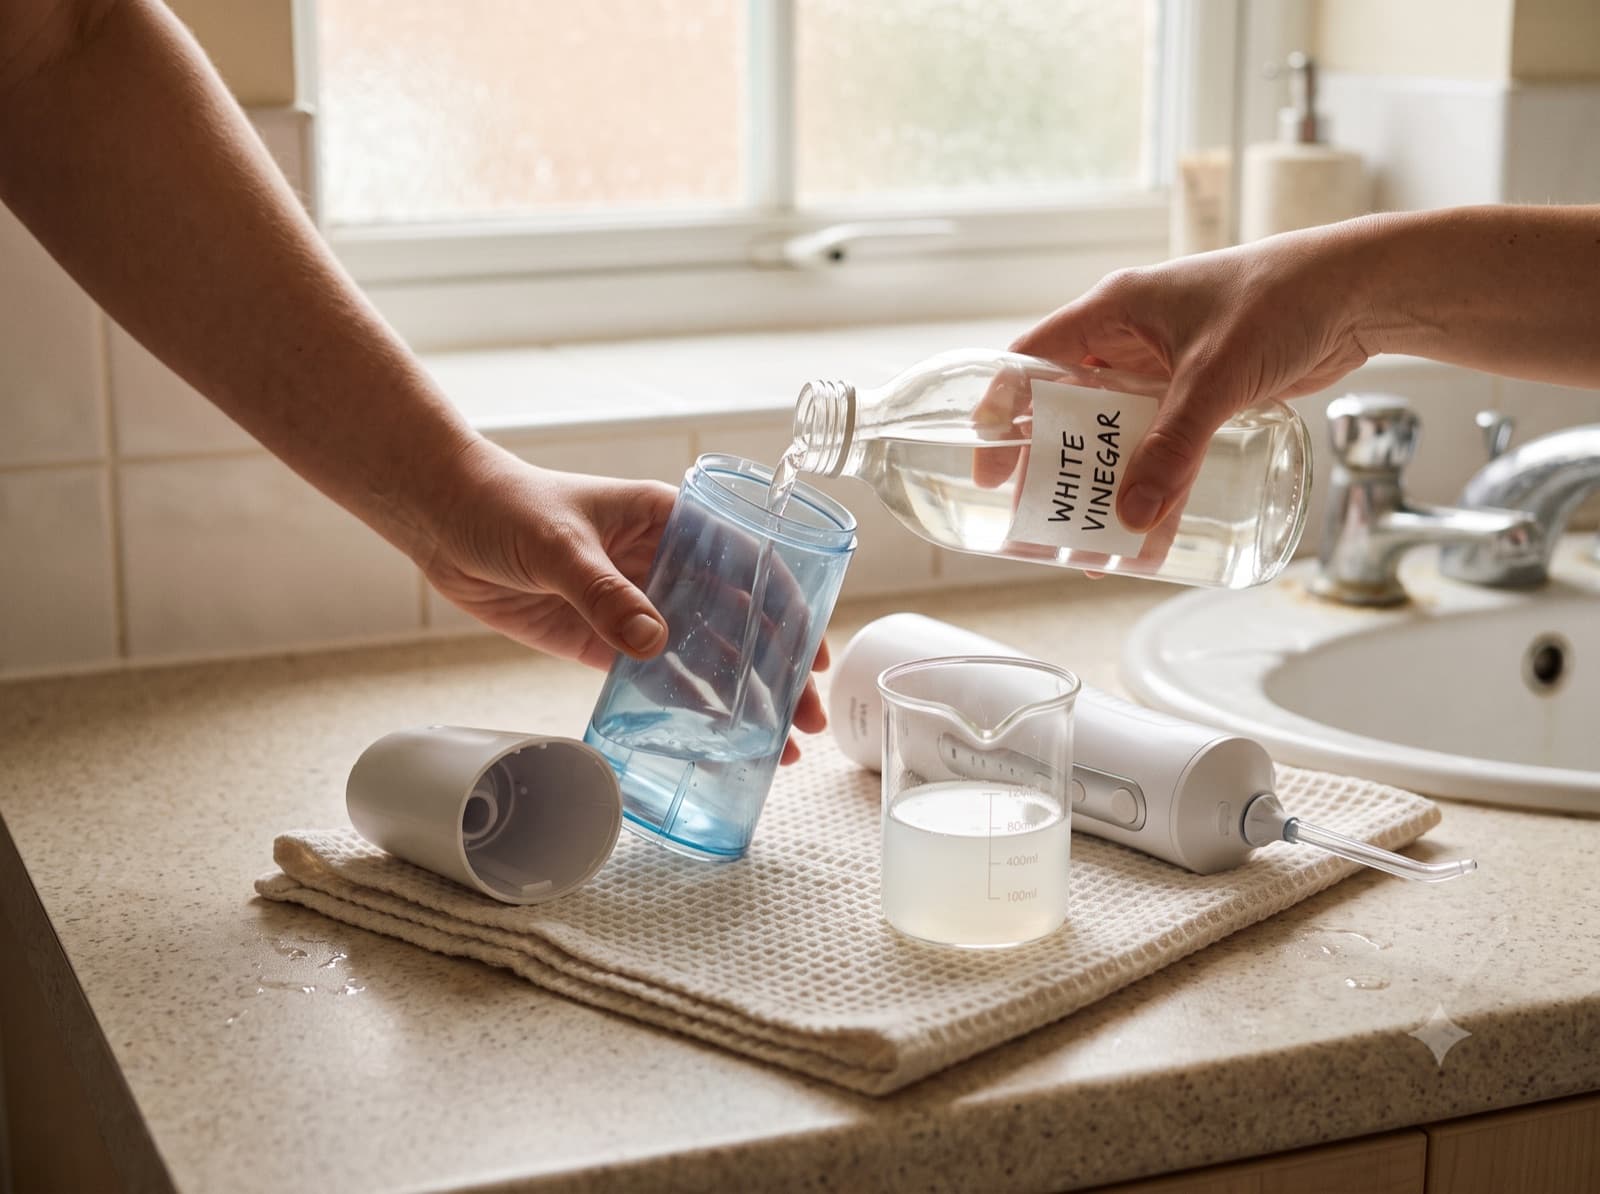
Monthly maintenance in hard-water areas: once a month, fill the tank with a solution of equal parts white vinegar and lukewarm water. Run this solution through the device for about 30 seconds to a minute, letting the vinegar dissolve the mineral deposits (limescale) that accumulate inside the pump and nozzle. Empty the vinegar solution, refill with plain water, and run that through for another 30 seconds to rinse out any vinegar taste or smell. This step keeps your water flosser running at full pressure and prevents the gradual pressure loss that comes from mineral buildup.
If your area has soft water, you can skip the monthly vinegar flush and just do the weekly rinse. Hard water? Mineral buildup is inevitable, and vinegar descaling is the simplest preventive measure.
Leave the tank open to air-dry overnight. Closing the tank immediately traps moisture and creates an environment for mould or mildew, especially in warm, humid bathrooms. Open tank, dry in the morning, refill and use the next evening.
Store your water flosser in a dry place. Bathrooms are humid, but if you can keep it in a drawer or cabinet between uses, that's better than leaving it on a damp shelf. If you notice mould inside the tank despite regular cleaning, a monthly soak in white vinegar (full-strength, 30 minutes) will clear it, followed by a thorough rinse and air-dry.
Using a water flosser with braces, implants and bridges
Water flossers suit users with orthodontic work, dental implants or fixed bridges.
Braces: String floss is nearly impossible to thread through brackets and wires. A water flosser bypasses this problem entirely. Aim the water jet at the gumline above and below each bracket, and along the wires. You'll clean areas that traditional flossing can't reach. Many orthodontists recommend water flossers specifically during active treatment. The only caution is not to aim directly at brackets themselves, as too much pressure can loosen them (use the middle pressure setting, not high).
Implants: Dental implants are artificial tooth roots, and the tissue around them (called the peri-implant sulcus) can become inflamed or infected if not kept clean. Water flossers are often recommended by implant specialists because they clean around the implant crown without the abrasive scraping that might scratch the implant surface. Use a gentle pressure setting and clean the gumline around the implant thoroughly.
Bridges: Fixed bridges span the gap where one or more teeth are missing. String floss must be threaded under the bridge, which many people find fiddly. A water flosser cleans under the bridge easily, targeting the areas where food traps and plaque accumulates. It's one of the best tools for bridge maintenance.
Frequently asked questions
- Do you brush before or after water flossing?
- Either works, but dentists often recommend flossing before brushing so the fluoride from your toothpaste stays on your teeth longer. Consistency matters more than order; pick whichever sequence you'll stick to daily.
- What are the downsides of a water flosser?
- Water flossers cost more than string floss (typically £30-£80 for a device), require electricity or batteries, and need regular cleaning to prevent mould or limescale buildup. They're also less portable than string floss unless you buy a cordless model. They also do not remove plaque by physical scraping the way string floss does, so some users benefit from occasional string flossing too.
- Should the flosser tip touch your teeth?
- The tip should aim at the gumline (where tooth meets gum) at a 90-degree angle, not directly at your tooth surface. You're targeting the space between the tooth and gum, not scraping the tooth itself. The water jet does the work; the tip just positions it.
- Can you use tap water in a water flosser?
- Yes, lukewarm tap water is all you need. Distilled water is optional in hard-water areas, but standard tap water works fine for most UK homes. Boiling water first is unnecessary and cools too quickly anyway.
- Does a water flosser replace flossing?
- A water flosser is an effective alternative to traditional flossing for most people, but it works best as part of your full routine. It removes debris and reduces bleeding, but it doesn't replicate the plaque-scraping action of string floss or interdental brushes. If you have tight contacts between your teeth or a history of cavities in those spaces, pairing a water flosser with occasional string flossing is ideal.
- How do you use a water flosser without making a mess?
- Lean directly over the sink, position your lips half-closed around the tip (like forming the letter O), and switch on the device only once it's in your mouth. Start on the lowest pressure setting. By day three, your lip position and angle will be automatic, and splashing drops to almost nothing.
Ready to try water flossing?
The Lumavir cordless water flosser is designed for simplicity and portability, with free UK shipping and a 14-day money-back guarantee, so there is time to settle into a routine before you commit.